Double Yolk: Sneak Peek 2
This week I helped launch a pet-project with a small team of collaborators called Double Yolk. Our Call for Submissions and social media campaign aims to give a strong sense of brand-- so of course, I went with an egg motif. Flat is all over the place these days so I decided to break the mould and go 3D. It was a really fun setup so I figured I would share some of the behind-the-scenes thinking.
First things first is the egg. Eggs have beautiful geometry. There are multiple ways to draft a perfect egg. I chose the simple Durer-inspired route.
Getting perfect curves is very important so that the 3D geometry looks smooth. The next step is to revolve the curve around the z-axis 360 degrees until you get a smooth eggy solid. Rhino is my tool of preference for anything 3D related.

To split the egg in half I trim it with a simple plane.


For the yolks, simply two spheres with centroids along the central axis. The spheres should be slightly different in volume. In theory I suppose you would never see the spherical shape of the yolks in a slice (too reminiscent of an avacado) but I like the dimension it adds.

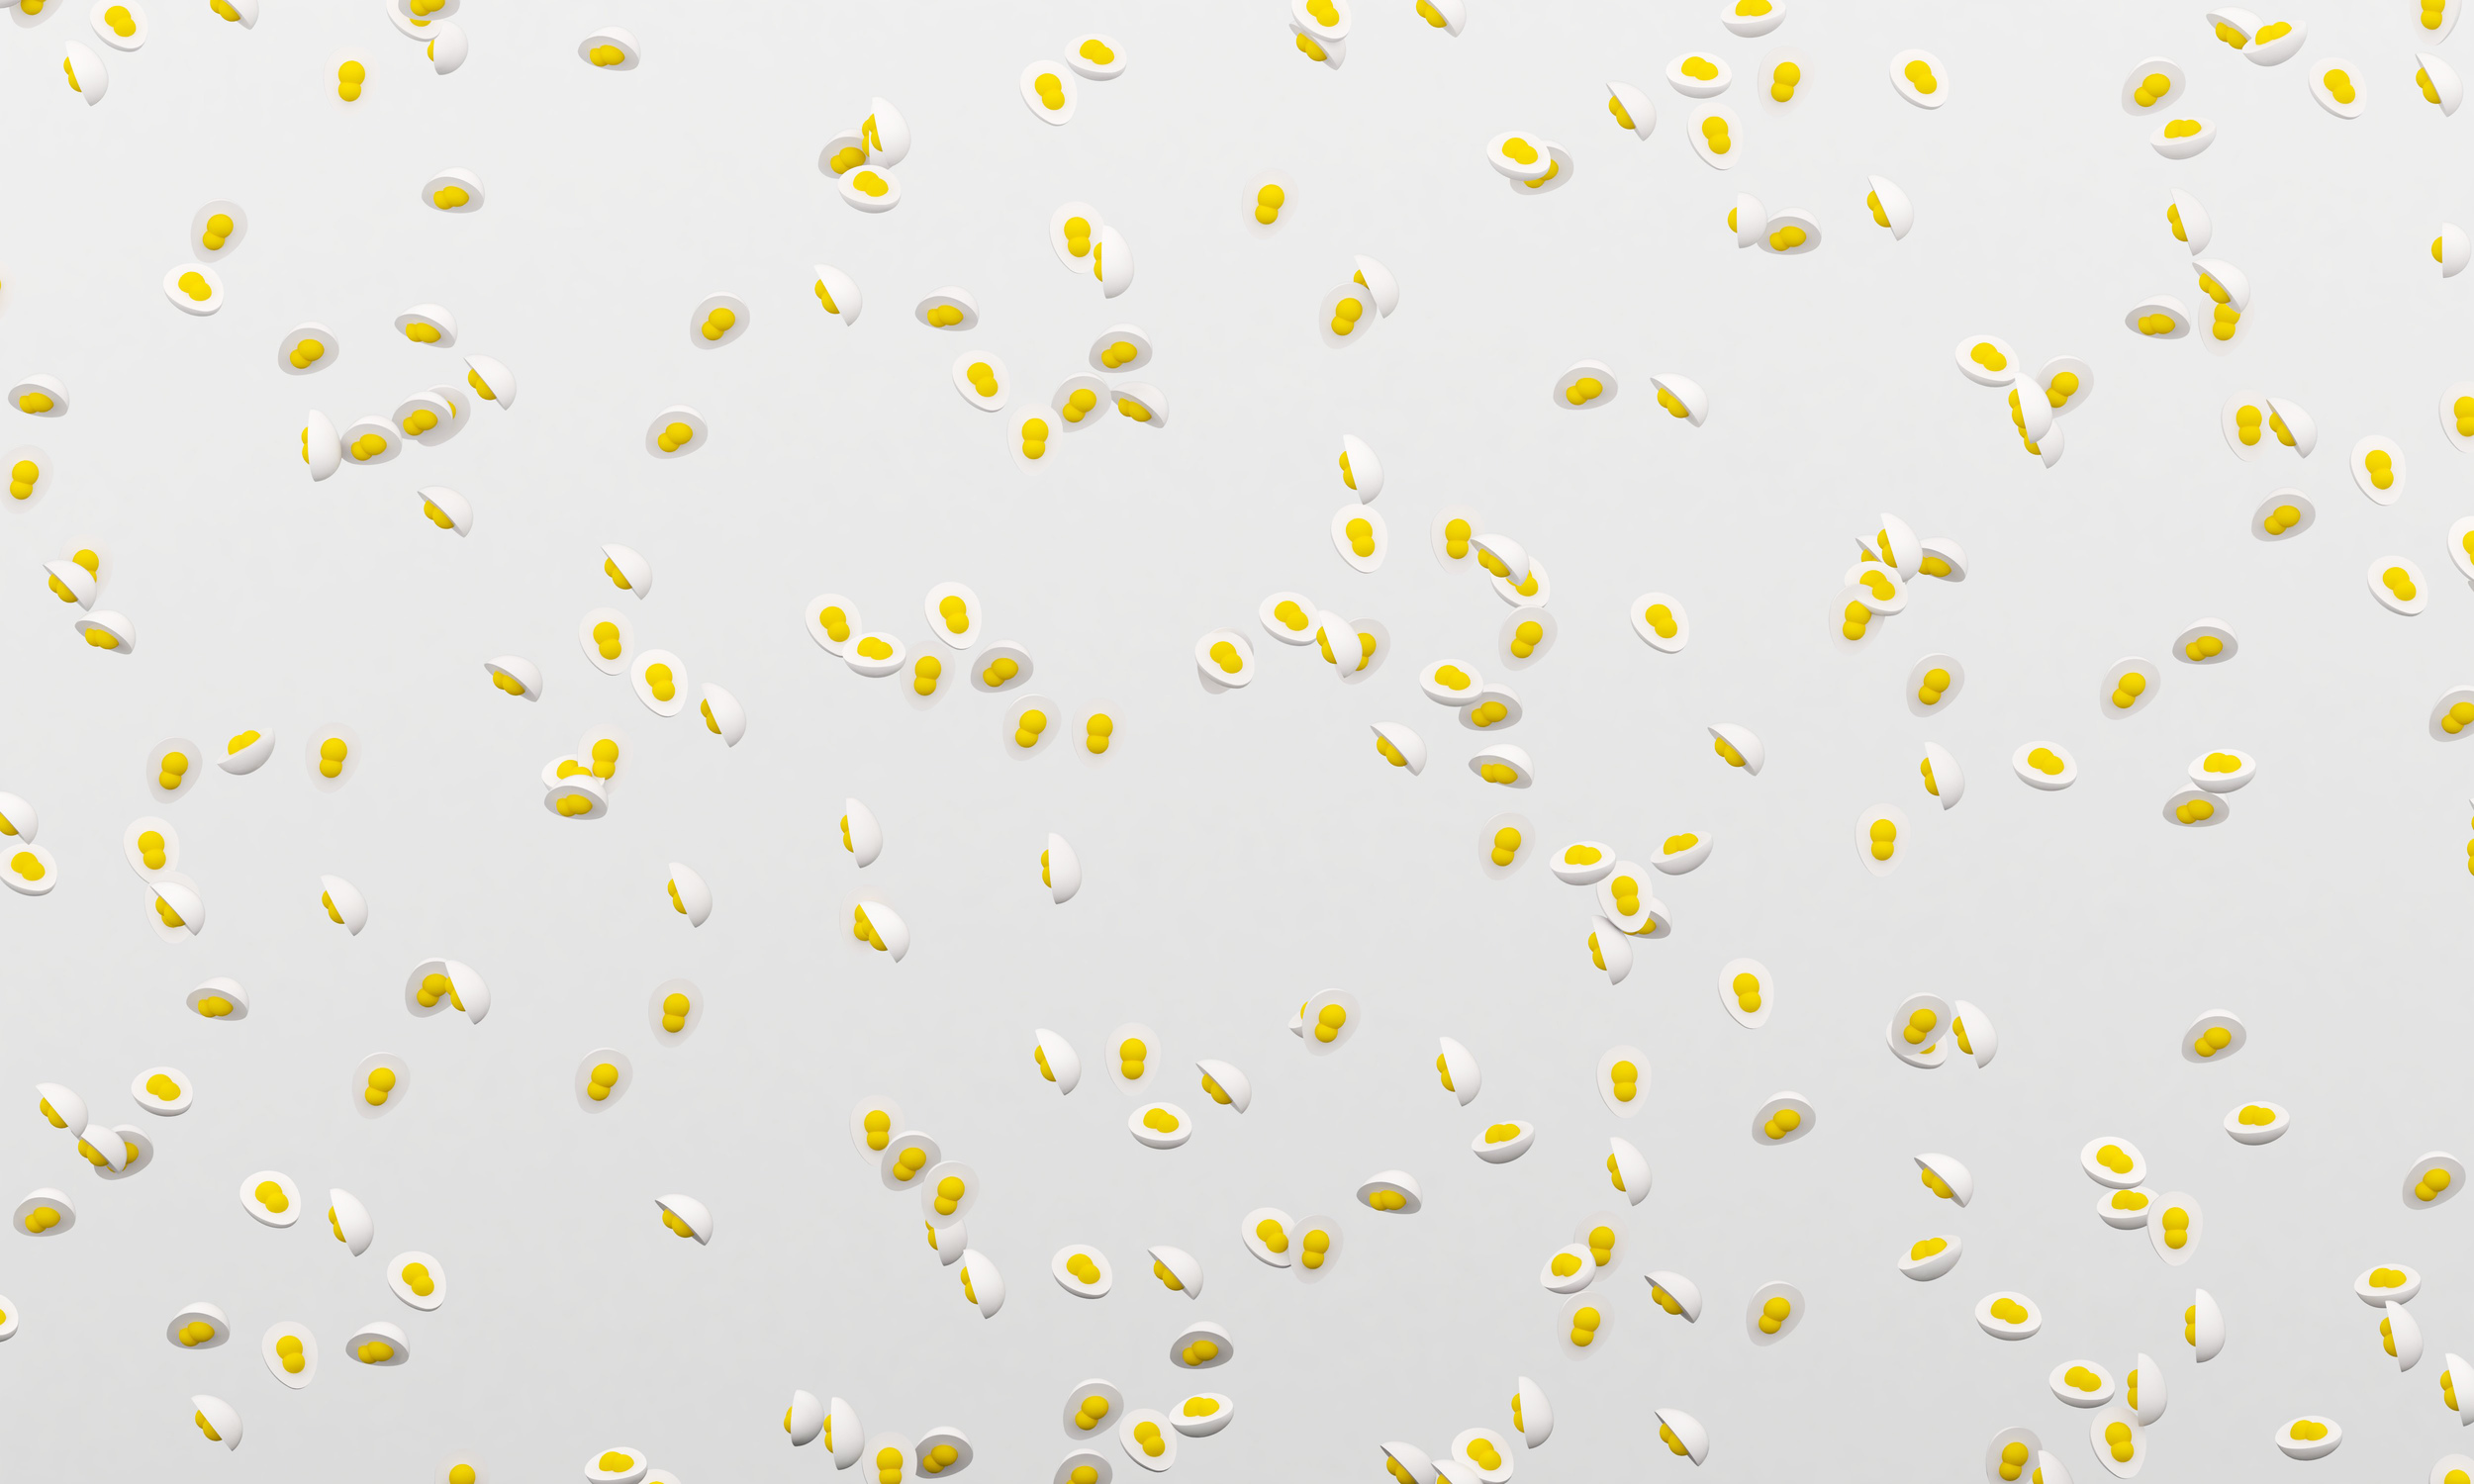
Now that the geometry is set, it can be implemented into a script to complete the image. The goal was a controlled density of eggs floating through space. Compositionally, I wanted to be able to manipulate the density and overall boundary of the eggs so that tweaking the image would be possible in a pinch. Working in 3D makes it a bit more difficult to 'fake' things in Photoshop later because of how the light and color bounces off of the shapes in the rendering. What you see is pretty much what you get. Scripting tools like Grasshopper can make adjusting any variables faster so that I don't have to manually place all of the eggs in my scene.
I like to sketch out a flow of information and variables before I start scripting so I know what my goals and unknowns are.
I want to be able to control the volume / shape that the point cloud occupies, and the overall density. I leave axial rotation up to a random seed set by a domain in radians. The real script ends up looking something like this:

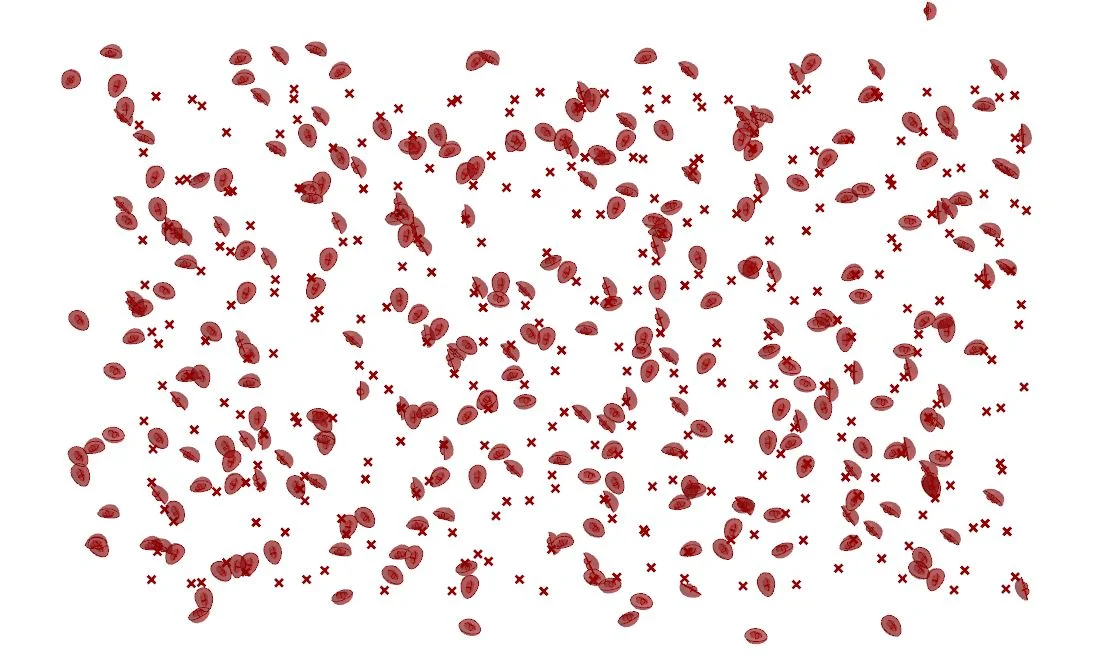
The volume that contains the point cloud can be any shape I wish. I start simple with a rectangular box. The points are controlled by a slider.

When I assign the geometry to be moved to a point, they are placed in the same orientation as the original geometry.

You can see that after applying the rotation command they all rotate relative to the position of their original points.

For the last step, I add the yolks. I keep the egg white separate from the yolks so it's easier to assign them different material properties later for rendering.
And that's the basic setup. I launched into some deeper complexity with forced perspective, gradient, and depth, but I can't give it all away before the launch of the first issue. Stay tuned for more!